Tuesday, 30 October 2012

Picnic dessert


These kebabs are amazing! Fudgy brownie cubes, soft marshmallows, strawberries and a drizzle of dark chocolate...hungry yet?

The first time I made these kebabs I was in a slight state of panic. I had a picnic to attend and I was responsible for bringing dessert. The only problem was I had completely forgotten the picnic was on. So when the day arrived here I was lounging in my PJ's, looking dishevelled, no dessert prepared and 2 hours until the picnic. So upon realising, I needed something easy, quick and transportable. A quick search of the pantry and within no time dessert was made.

I made these again last Sunday and they were a huge hit. They're perfect for a picnic, easy to eat and not too rich... well depending on how many you scoff down.


Dessert Kebabs
S'morish original ~ makes 20-30

1 large punnet of strawberries
1 packet of marshmellows
1 batch of brownies  (I used these)
75g dark cooking chocolate
20 skewers 

Make the brownies. Once they have cooled to room temperature cut into 3cm x 3cm cubes.
Assemble the kebabs by inserting a strawberry first, this mosistens the skewer so that the marshmellows don't stick. If you wish, slice the larger strawberries in half, by doing so you will be able to make more kebabs.
When all kebabs are assembled arrange them on the tray that you will serve them on.
Melt the dark chocolate and drizzle over the kebabs.

These kebabs can be stored in the fridge however you may like to bring them to room temperature before serving.


What's your favourite picnic dessert?


Tuesday, 9 October 2012

Chocolate lace cookies


Monday afternoon, after a long day at university, I visited a lovely place, full of relaxation and happiness.  This perfect little place is called Procrastination Station, and I visit it with stunning regularity.  It is so easy for me to visit Procrastination Station, because often it's situated in my own house, and 9 times out of 10, it's in my kitchen. It's not my fault I'm always at Procrastination Station. I blame it on assignments and unenthusiastic lecturers and a sore brain.

Anyway, on Monday, mid-assignment, I decided that this blog had a depressing lack of chocolatey indulgence and it needed to be fixed, so off I went to Procrastination Station.  I've made these beauties quite a few times now, and they've always been a hit, mainly because they're the perfect "I'm-eating-away-my-feelings-leave-me-alone" food, which is what stress forces me to do. They are amazing, the perfect pick-me-up.  Rich, sweet, powdery, chocolatey perfection.  So I thought I'd share these pretties with you to make me feel better about myself.

Chocolate Lace Cookies

Makes about 52 - this is not accurate, due to the fact greedy family members stole some away whilst I was baking

225g of dark courveture chocolate
1 1/4 cups of plain/all-purpose flour
1/2 cup of pure cocoa powder
2 teaspoons of baking powder
1/4 teaspoon of salt
8 tablespoons of unsalted butter
1 1/3 cups of caster sugar
2 eggs
1 teaspoon of vanilla extract
1/3 of a cup of milk
Extra caster sugar for rolling
Icing/confectioner's sugar for rolling

Preheat your oven to 180˚C.  Roughly chop the chocolate and melt in a bowl over a pot of simmering water.  Make sure the water doesn't touch the bottom of the bowl the chocolate's in.  Once it's done, set aside to cool.  Sift together the flour, baking powder, salt and cocoa into a bowl.

In a large bowl of an electric mixer, beat the butter and caster sugar until light and fluffy.  Add the eggs and vanilla and beat until well combined.  Add the melted chocolate.  Put the mixer on low speed and add the milk and dry ingredients, alternating between the two, until just combined.

Divide the dough into halves and wrap with plastic wrap.  Chill in the freezer for about 2 hours or until firm.

Once the dough is done chilling in the freezer with its icecream homies, scoop teaspoon-sized portions and roll them into balls with clean hands.  I found it helps to dampen your hands with water for this bit as they roll more smoothly and less mixture sticks to your hands.  Roll the balls in caster sugar and then toss them in the icing/confectioner's sugar.  Be liberal with the confectioner's sugar as this is what gives the cookies their gorgeous white shells.  Dont be afraid to pile a bit of icing sugar on top of the balls for extra powderyness.


Place the balls onto a tray lined with baking paper, spaced about 2-3 inches apart as they will spread as they cook.  Bake them until the icing sugar splits and the cookies have flattened - about 10-15 minutes.  You can gauge when they're ready by feeling the edges of the cookies.  Once the edges start to harden, it's time to take them out to cool.

When families attack.

Let the cookies cool and enjoy with a tall glass of milk!


A printable version of the recipe can be found below!


Wednesday, 3 October 2012

Honey cookies & a smidgen of procrastination


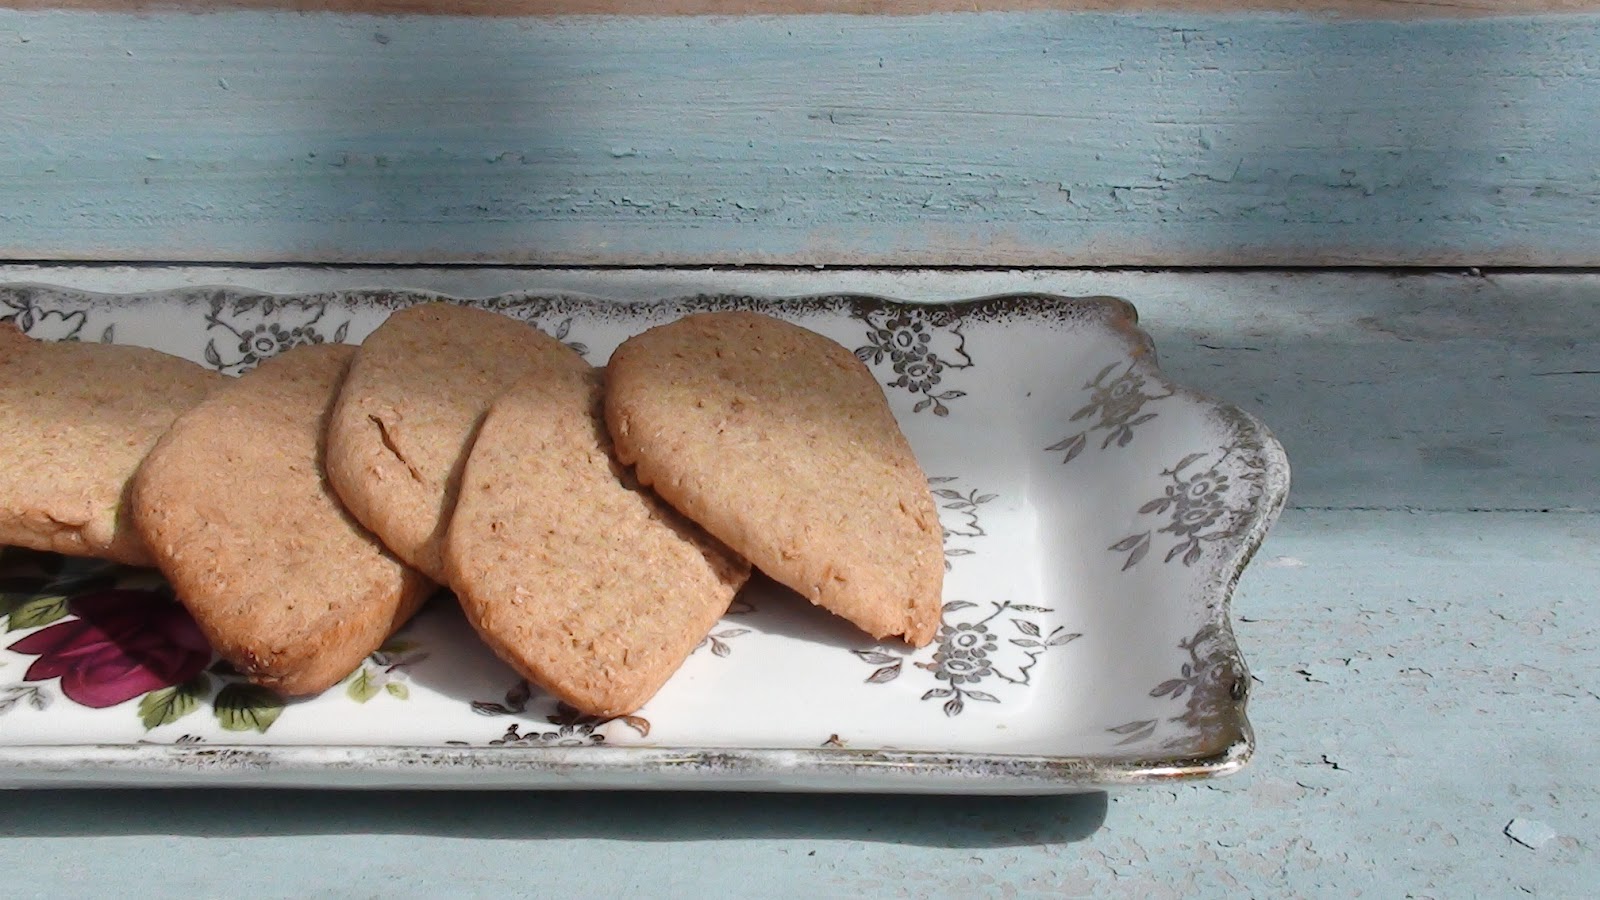
I am unashamed to admit that these cookies were the product of procrastination. With writer's block and an intense unwillingness to face yet another assignment, I found myself in the kitchen measuring and combining ingredients. These cookies taste alot like honey jumbles but with a bit more crunch!

Honey Cookies
Makes 20~ S'morish Original
Ingredients
100g honey
100g olive oil spread/unsalted butter
10 cloves (optional)
1 egg at room temperature
200g wholemeal plain flour
50g plain/all purpose flour
2 teaspoons of cinnamon
Pinch of salt

In a saucepan melt the honey and olive oil spread/butter on low heat. Stir occasionally until ingredients have melted and are combined.
Add the vanilla and cloves and heat until the mixture comes to a foamy bubble.
Take off the heat and let it cool for 5-10 minutes.
Pour the slightly cooled mixture into a bowl of a mixture.
Add the egg and beat on low speed.
Add the flours, cinnamon and salt. the mixture should come together and form a smooth, elastic, caramel coloured dough.
Roll the dough into a sausage and cover tightly in plastic/cling wrap.
Refrigerate the dough for 15 minutes and preheat the oven to 180° fan-forced.
Uncover the dough and slice into 0.5cm slices.*
Place slices onto a baking tray.
Bake on the top shelf of the oven for 20 minutes or until golden brown.
Allow the cookies to cool on the tray as this will let them firm/harden.

 *This dough is quite versatile. You can roll it out and cut out different shapes, or make thumbprint cookies like in the image below. To make the thumbprint cookies roll pieces of the dough into balls. Make a dent in each ball using the end of a wooden spoon handle or your thumb. Fill the dough with jam. I used apricot but you could use anything you like.
At least cookies were the product of procrastination. Slightly more productive and edible than you tube.

Have you ever found yourself baking in the spare of the moment to avoid facing what needs to get done?


Enjoy x
                                                                

Tuesday, 25 September 2012

Macarons!


Well, it's been a while and I can only apologise, though there are other things in life that require your attention more than a blog post at times.  But, this post is about something so good that I think we can forget about the lack of posts and enjoy a stroll down the road towards diabetes together with this super sweet one.

Over this past weekend I was put in charge of making some cupcakes for a First Communion.  As soon as this was decided there was no shortage of ideas in my magnificent mind. First, I knew there absolutely had to be super rich chocolate cupcakes somewhere in this project and second: there had to be macarons involved as well. Yep. Macarons and cupcakes. Together.  A match made in heaven, seriously.

So, I took to my Zumbo book again - a little nervously - and made his macarons.  The first time I tried Zumbo's macarons - or "Zumbarons" as he refers to them - was for Easter of this year.  Let's just say that they weren't very pretty.  I didn't use a stencil to make sure each macaron was perfectly round and were all the same size like I did this time (which I highly recommend you do if you're a macaron newbie like me.  It really makes a difference) so they were as big as the palm of my hand and all weird shapes.  The chocolate ganache that I made was runny and just flooded out of the macarons, not to mention I wanted to make the macarons a lovely lime green colour but what really happened was a putty green disaster. If there's one thing I hate most in the world it's putting something you're not very proud of up in front of your family to eat and you know your creation is yuck and you know they think so too but they're too nice to say what they really think which I think is something along the lines of, "what the heck is this, you failure?! BACK TO THE KITCHEN."  So you can see why I was a bit nervous travelling down macaron territory again.  I wasn't looking forward to getting gang bashed by desserts while they screamed in my face how inadequate I was.  But it's okay. I've learned and it's in the past now.

This time round, they were glorious and I was so so happy with the small chubby macarons that I produced.  The prettiness and yummyness boxes were all ticked.

Macarons - recipe from Zumbo by Adriano Zumbo

300g of almond meal
300g of pure icing (confectioners' sugar)
110g of egg whites, room temperature (the amount of eggs you'll need will vary depending on their size)
75mL of water
Food colouring (make them pretty)
2g of powdered egg white (because I'm lazy, I didn't bother with this. It just seemed redundant and they turned out perfect without it)
110g egg whites, extra, at room temperature

Grease 3 large baking trays and line with non-stick baking paper.  I drew small circles 2cm in diameter on the back of the baking paper as a guide.  You don't want the circles to be much larger than that for small macarons because the batter will relax after you pipe it and spread a little. 

Sift almond meal and icing sugar together into a large bowl.  Put the egg whites into an electric mixer and set aside while you complete the next step.

Combine the sugar and water in a small saucepan over low heat and stir until the sugar has dissolved (after about 7 minutes).  While you're doing this make sure to wash down the sides of the saucepan with water on a pastry brush to avoid crystallisation.  Increase the heat and bring to the boil.  At this stage, add the food colouring.  Cook until the mixture reaches 118˚C.  When it gets close to this temperature add the powdered egg whites (if you're using them) to the egg whites in the mixing bowl and whisk on medium speed until frothy. 

Once the sugar syrup is at the right temperature, increase the mixer speed to high and pour the syrup in a steady stream down the side of the bowl.  Whisk until warm, about 8 minutes.  Add the extra egg whites to the dry ingredients and then add the meringue.  Using a spatula, fold the mixture together until well combined and until it begins to loosen, softening the meringue.  When the mixture falls slowly off the spatula, you've got the right consistency to start piping. 


Transfer the mixture to a piping bag and pipe straight down onto your prepared baking trays.  Make sure you leave a substantial gap between your macarons.  If you have the right texture, the macaron will soften again slightly and the tip on top of the macaron will drop leaving a smooth top. 

Leave the macarons at room temperature for 30 minutes or until a skin forms.  This skin will lift when they are cooking, giving the macarons their distinctive foot at their base.  Preheat the oven to 135˚C.  To test if the macarons are ready, gently touch one with your fingertip to check that a light skin has formed - the macarons should not be sticky.

Bake the macarons for 16 minutes, until they have a firm outer shell. Remove from the oven and set aside for 2 minutes, then carefully remove one macaron with a spatula to check that the base is also cooked and dry.  If the base is still slightly sticky, return the macarons to the oven for 2-3 minutes and then check again.  Cool the macarons completely on the trays.


Now that your shells are ready, you might like to match up likely pairs of macaron shells to sandwhich together before you make the ganache!  For the filling, I just made a simple dark chocolate ganache.

Simple Dark Chocolate Ganache

150g of pouring/whipping cream
200g good quality dark chocolate
60g unsalted butter, softened

Put the cream in a small saucepan and bring to the boil.  Remove from the heat and add the chocolate, set aside for 3 minutes.  Stir until the ganache is glossy and smooth.  Set aside and let cool for 5 minutes.  Using a stick mixer, blitz in the butter until smooth.  Set the mixture aside to cool until it becomes firm enough to pipe.

Pipe the ganache on the bottom of one macaron shell and sandwhich it with its pair.

Enjoy!!


If you would like to check out more of Adriano Zumbo's amazing creations (which, trust me, you do) then click here to go to his website.  If you'd like to buy a copy of his book Zumbo where this macaron recipe is from plus many many more delightful recipes click here.


Sunday, 9 September 2012

Wild flowers


Spring is finally here!

Wishing you a lovely week ahead x